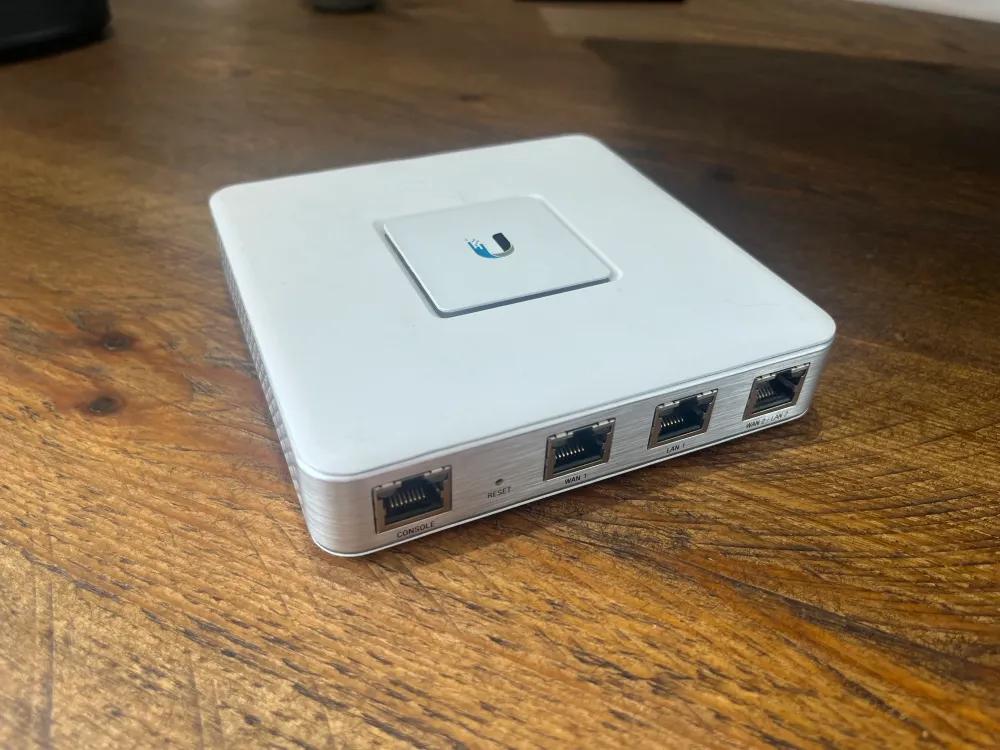
Saving a dead Ubiquiti USG
After 5 years with the Unifi Security Gateway it finally packed in, stuck unable to boot with an off chirping noise that was slightly concerning.
Symptoms:
- Chirping noise
- Only the console light flashing
(You may need to increase your volume to hear the chirping)
Some quick Googling suggests it's probably the onboard storage that has died. For some reason, Ubiquiti decided to just use an internal USB drive for the firmware.
I went down the route of fixing the USB Drive at first, however it was as simple as changing out a dead power supply. I will cover both of these so you can get your UniFi USG up and running again.
Fixing the Unifi Security Gateway
PSU Change
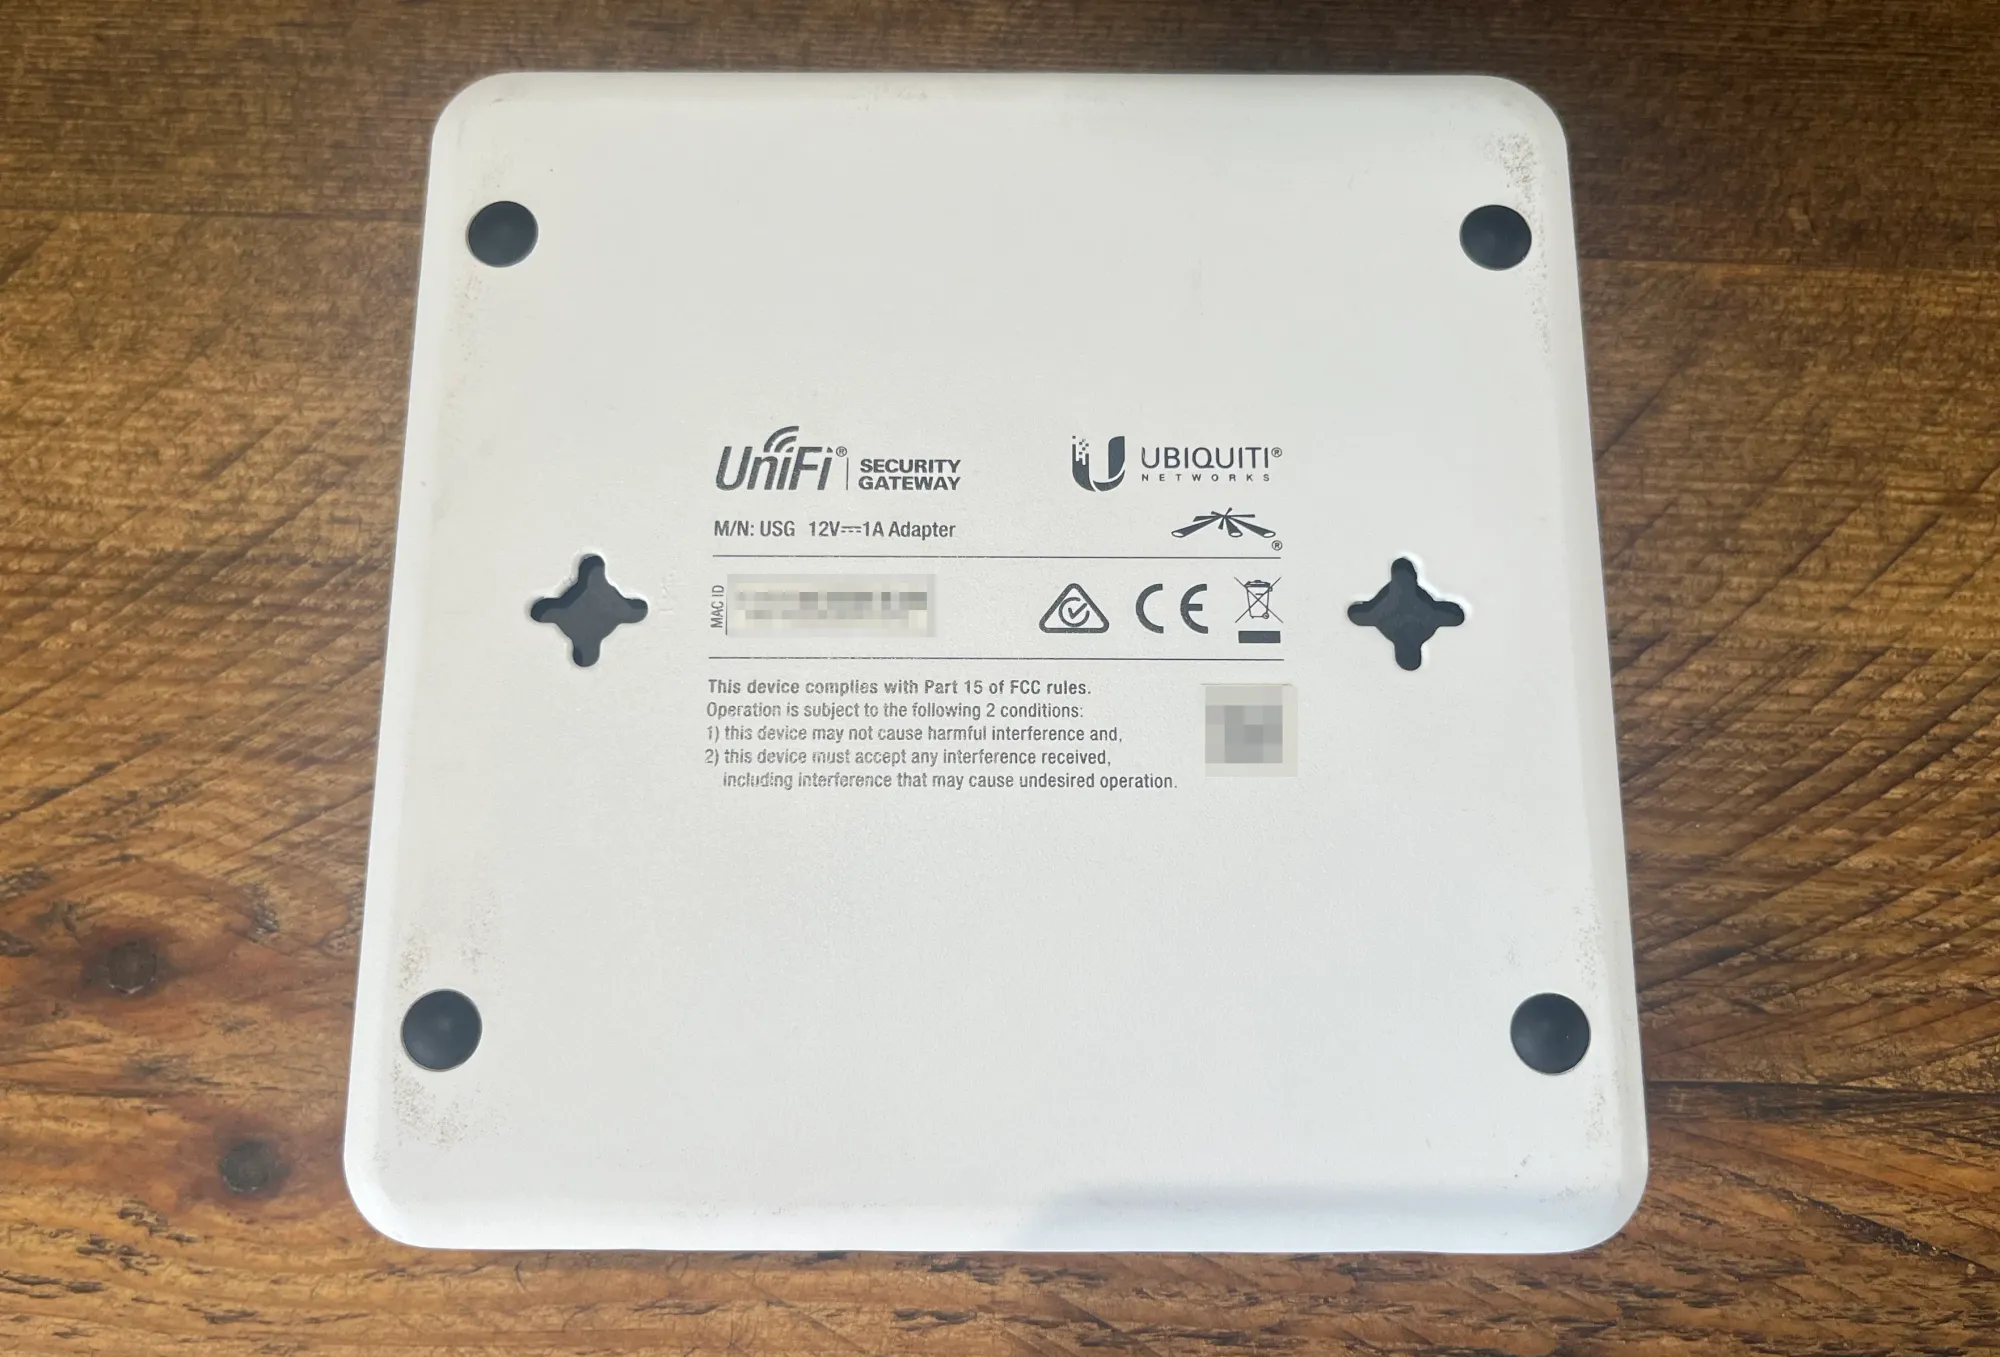
The official Ubiquiti power supply is a common failure point on the USG's so swapping this out for a spare one lying around will be a good place to start.
Power Adapter Spec: 12v 1A barrel connector
You'll likely find one of these with:
- LED Strips
- CCTV Cameras
- Electric Drills
- Consumer Network Switches
I had an old Netgear switch lying around which I was able to borrow off and confirm it was a faulty PSU in my case.
Dead USB?
In the event of a dead USB, we have two options. When flash storage dies, it typically just goes into read-only mode. Therefore we can attempt to just copy to bits over to a new USB and everything will be as you left it. There's a chance this may not work and option 2 will be the only method, by installing the factory image to a new USB.
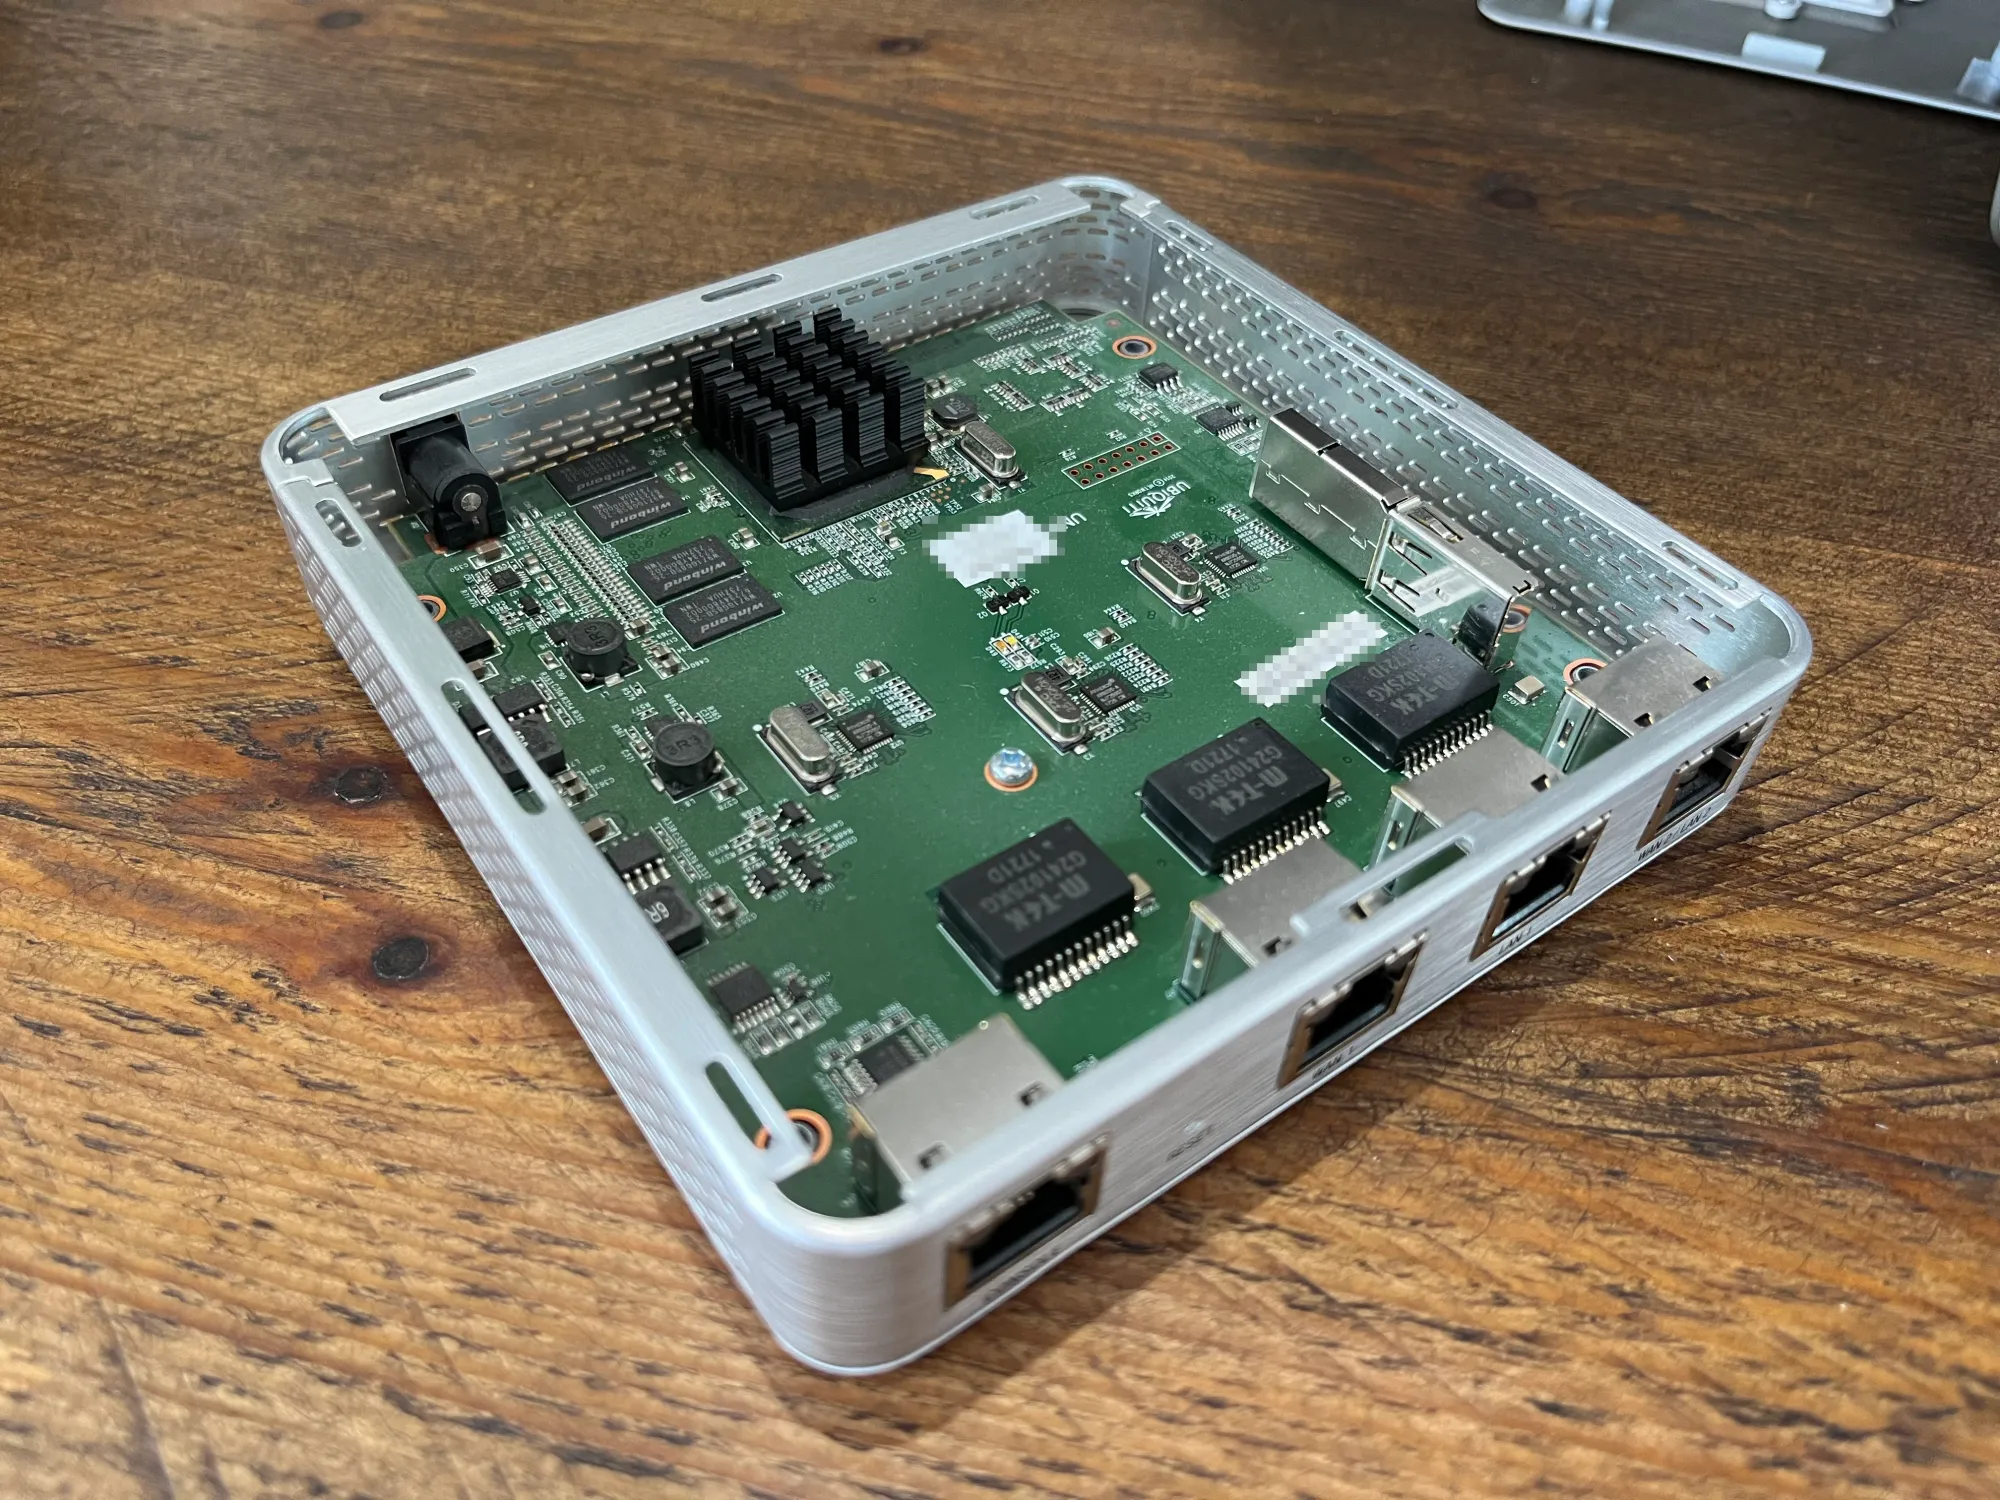
- Unscrew the USG
You'll find a crosshead/philips screw in each corner under the feet pads.
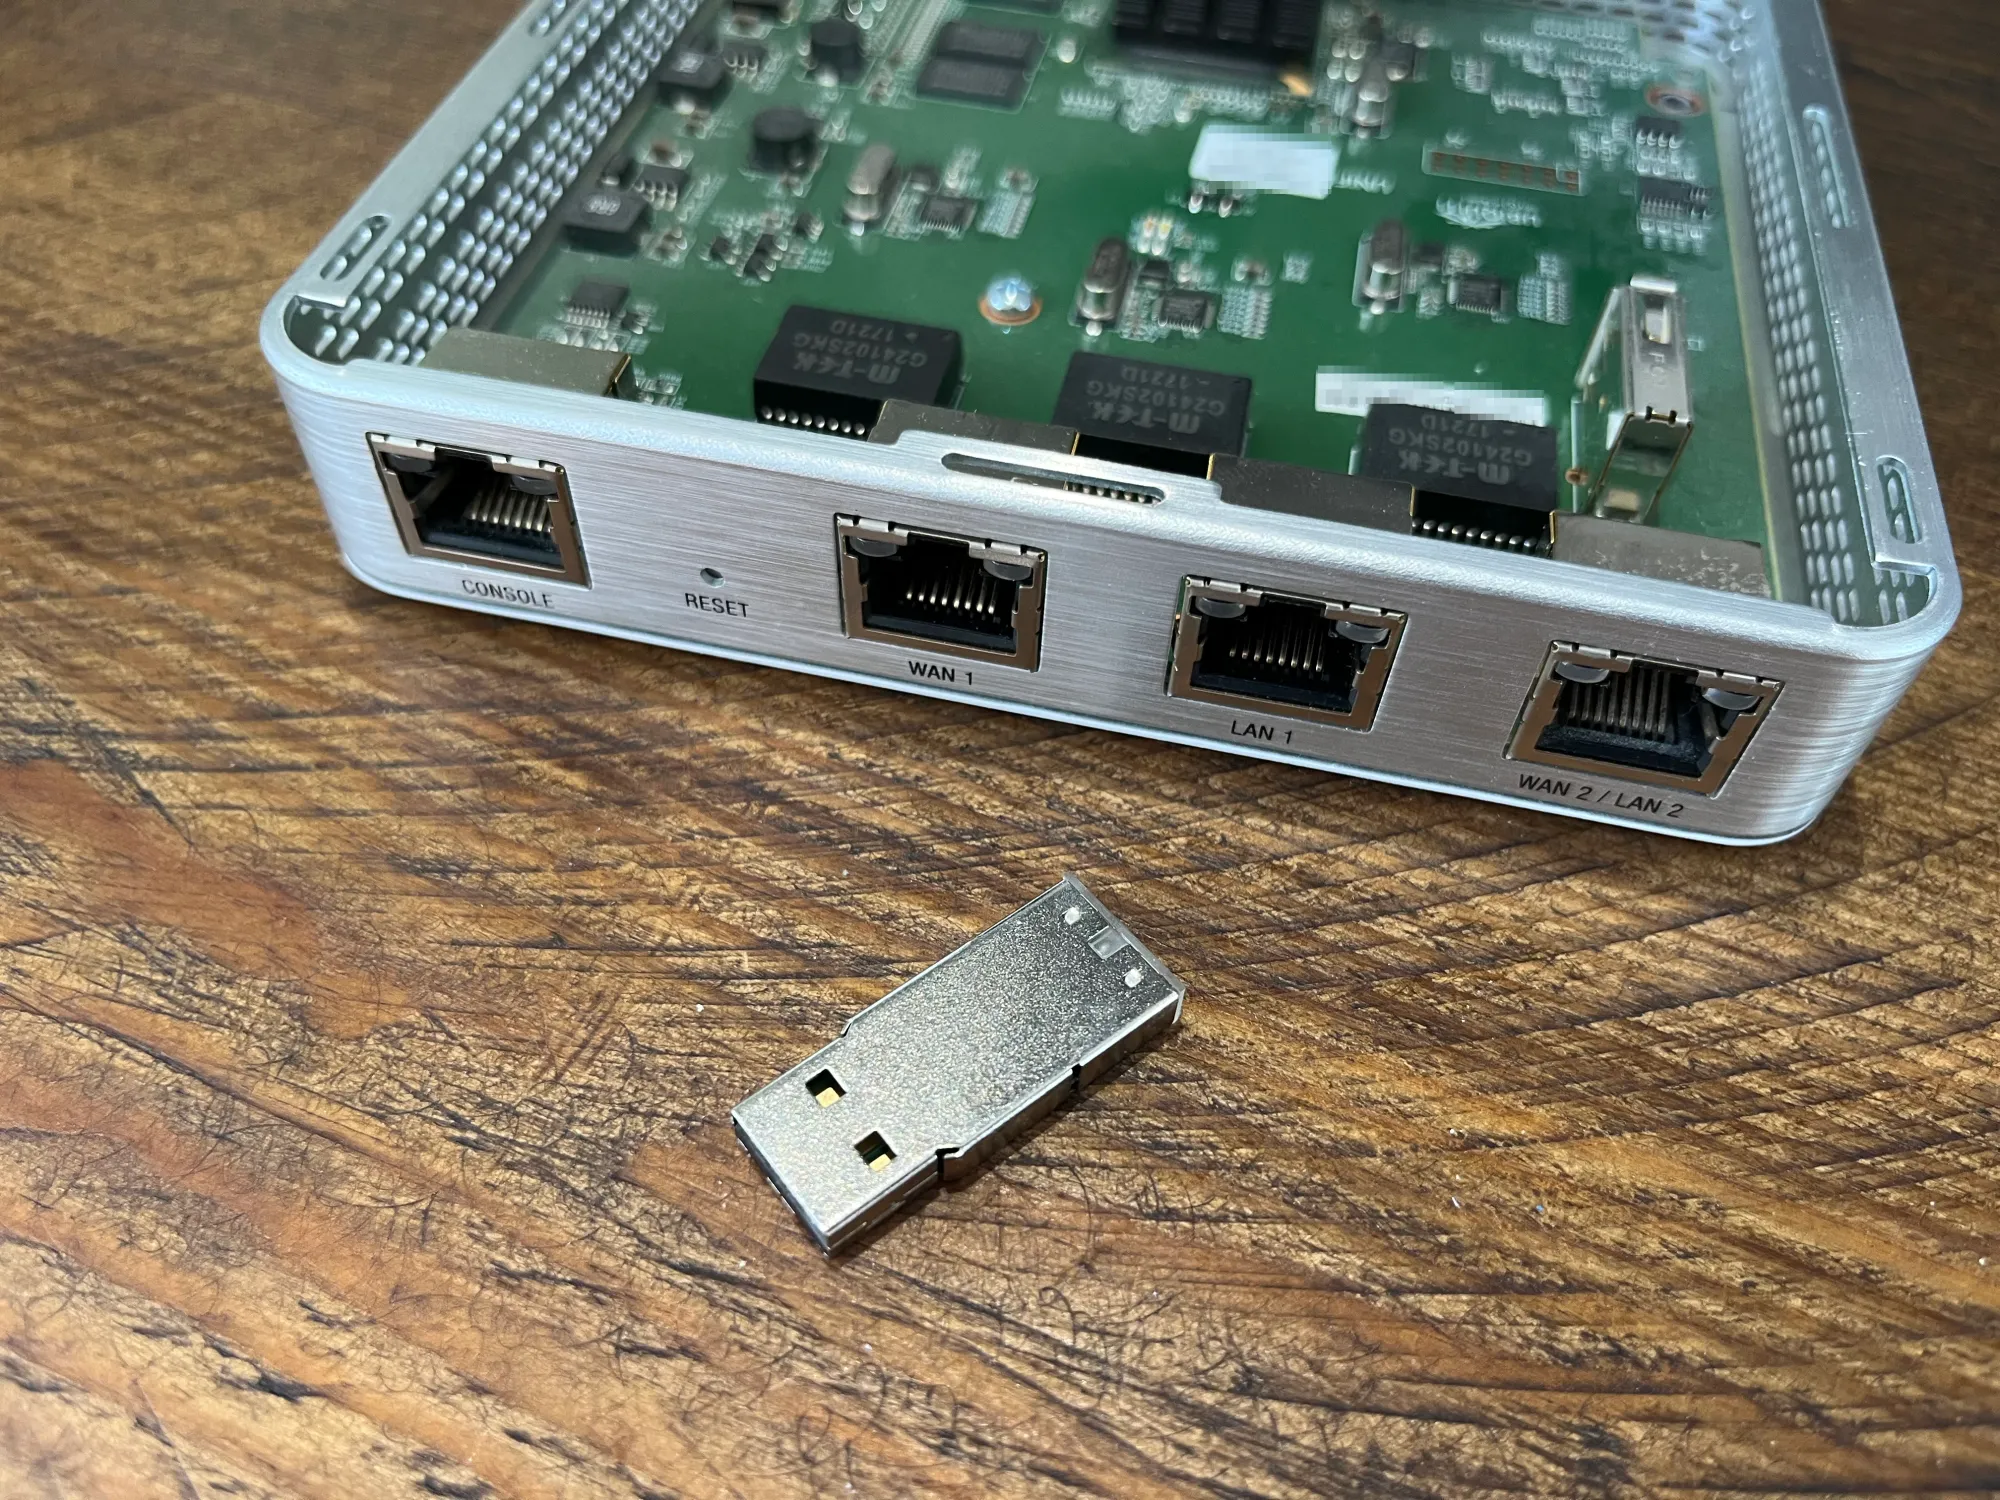
- You can now take off the lid/top of the case. Locate the USB, behind the LAN2 port and remove it.
- Get a replacement USB drive. You'll want this to be 4GB or larger, make sure it isn't too wide.
The following commands are for macOS. Linux users will just want to switch out diskutil for fdisk. e.g. Use sudo fdisk -l instead of diskutil list.
Jump to Option 2 - Install Factory Image
Option 1 - Copy contents from old drive
- List Drives:
diskutil list
The original USG should appear similar to this:
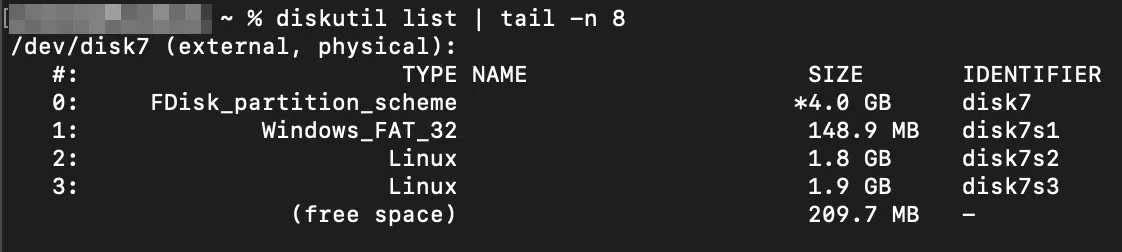
Locate the names of both drives. This should be something like dev/disk7.
- Unmount:
diskutil unmountDisk /dev/disk6
diskutil unmountDisk /dev/disk7
- Copy contents to the new drive:
sudo dd if=/dev/disk6 of=/dev/disk7 bs=4m status=progress conv=noerror,sync
disk6 = Dead original drive
disk7 = Replacement drive
Please ensure you have this command correct before executing.
This may take a few minutes to complete.

- Eject the drives:
diskutil eject /dev/disk6
diskutil eject /dev/disk7
- Now just plug it back into your USG, power it up and you should be good to go!
Option 2 - Install Factory Image
- First download the factory firmware for the USG:
Ubiquiti Download: https://dl.ubnt-ut.com/cmb/USG-4_2_0-shipped.img.bz2
Alternative Download: https://files.cyberhost.uk/USG-4_2_0-shipped.img.bz2
SHA256: f6420f623754f2fde870e04e28d8280b3b1d8cabea5d1f6e1dbb2465dee0fd13
Once downloaded extract the bz2 file.
- List Drives:
diskutil list
Locate the drive name for your replacement USB, in my case it wasdev/disk7. - Unmount drive:
diskutil unmountDisk /dev/disk7 - Write img to drive:
sudo dd if=/Users/cyberhost/Downloads/USG-4_2_0-shipped.img of=/dev/disk7 bs=4m status=progress - Eject the drive:
diskutil eject /dev/disk7 - Now just plug the new drive in, power it up and you should be good to go!